
Documentation menu
Installation
System requirements
- Windows 10 version 1903 or later, or Windows 11
- A PC with an x64 (Intel or AMD) or an ARM64 (Windows on Arm) processor
- Administrator rights to install
If the PC does not have the Microsoft Edge WebView2 Runtime yet, the installer adds it.
Choose the installer
NetworkTuna has a separate installer for each processor type. Download it from the Download page:
| Your PC | Button on the Download page |
|---|---|
| x64 processor (Intel or AMD) | Download |
| ARM64 processor (Windows on Arm) | Download for ARM64 |
To see which processor your PC has, open Windows Settings › System › About and look at System type. An installer for the other processor type does not install. It asks you to download the one that matches your PC.
The installers are digitally signed by DeinitLabs.
Install NetworkTuna
-
Run the installer that you downloaded.
-
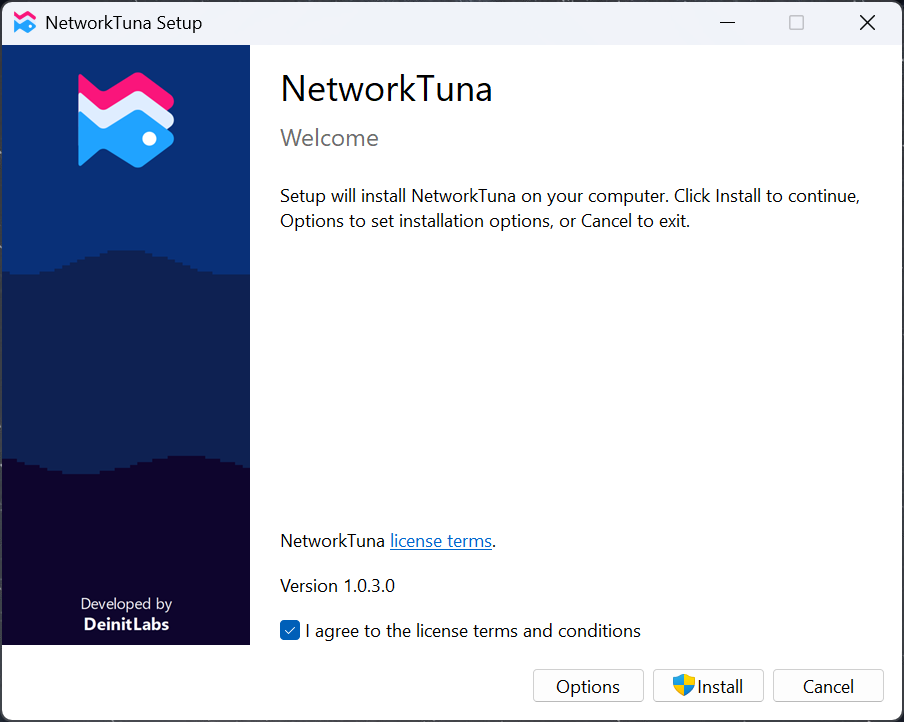
Read the license terms, select I agree to the license terms and conditions and click Install. To choose another installation folder, click Options first.
-
Windows asks whether the installer may make changes to your PC. Confirm it: NetworkTuna installs a Windows service and a network driver, which need administrator rights.
-
When setup has finished, click Launch to start NetworkTuna.
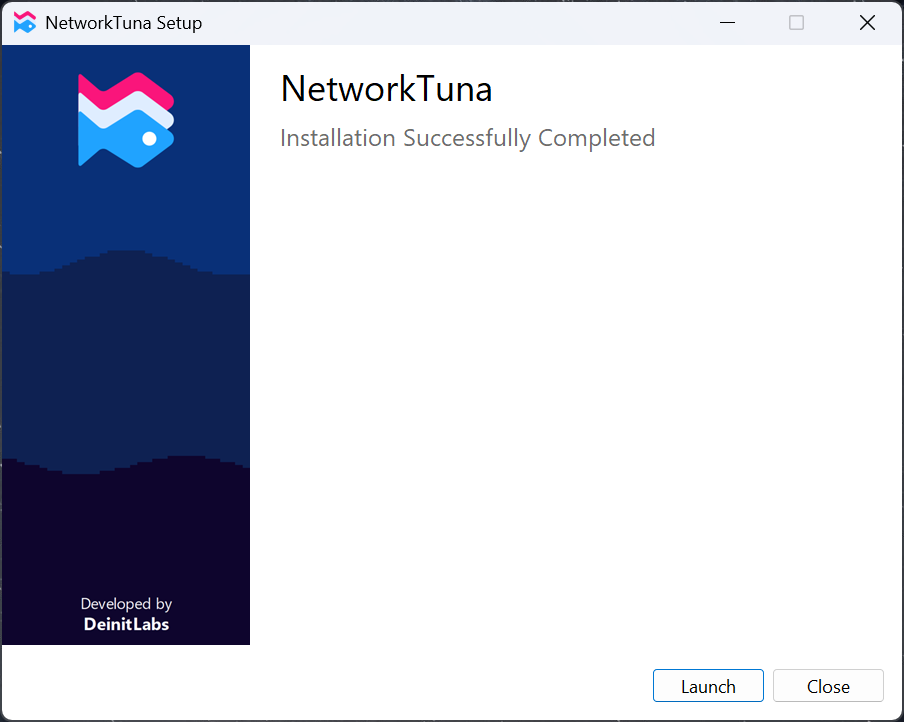
NetworkTuna then starts with Windows. The service does the monitoring and runs the app firewall in the background, even while the NetworkTuna window is closed. To stop the window from opening when you sign in to Windows, turn off Run on startup in Settings › General.
NetworkTuna starts with a 14-day trial. After you buy a license, enter your registration code in the app: choose About in the sidebar, then Enter code.
Update NetworkTuna
NetworkTuna tells you when a new version is available and can install it for you. You can also run the installer of a newer version yourself. Both keep your settings and statistics.
Uninstall NetworkTuna
Open Windows Settings › Apps › Installed apps (on Windows 10, Apps & features), choose NetworkTuna and then Uninstall. NetworkTuna Setup opens on Modify Setup:
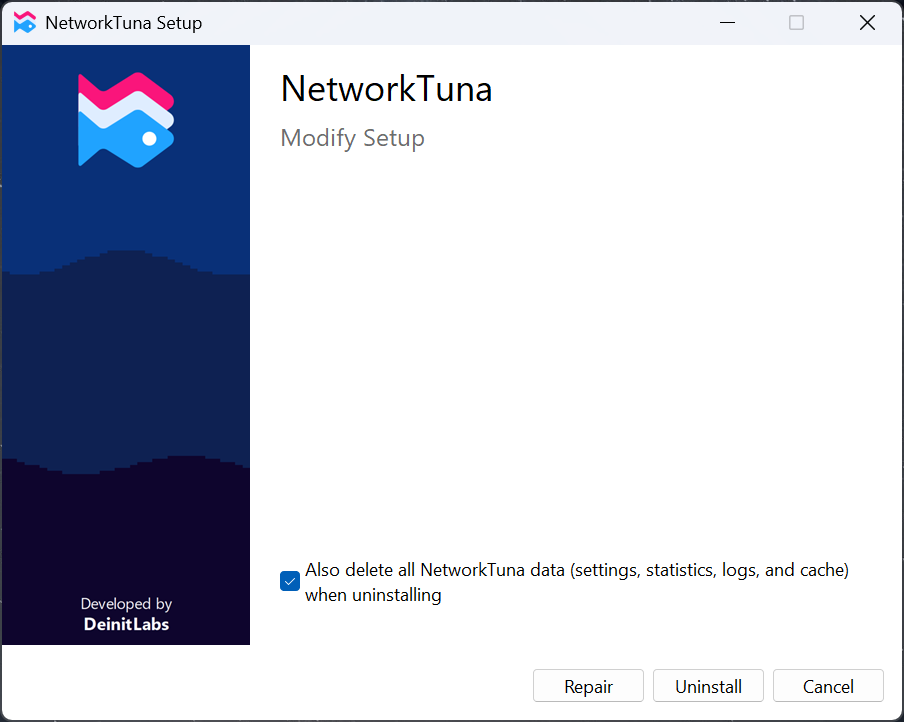
- To keep your settings, statistics and logs, click Uninstall. NetworkTuna continues where it left off if you install it again.
- To delete them too, first select Also delete all NetworkTuna data (settings, statistics, logs, and cache) when uninstalling, then click Uninstall.
Repair reinstalls NetworkTuna instead.